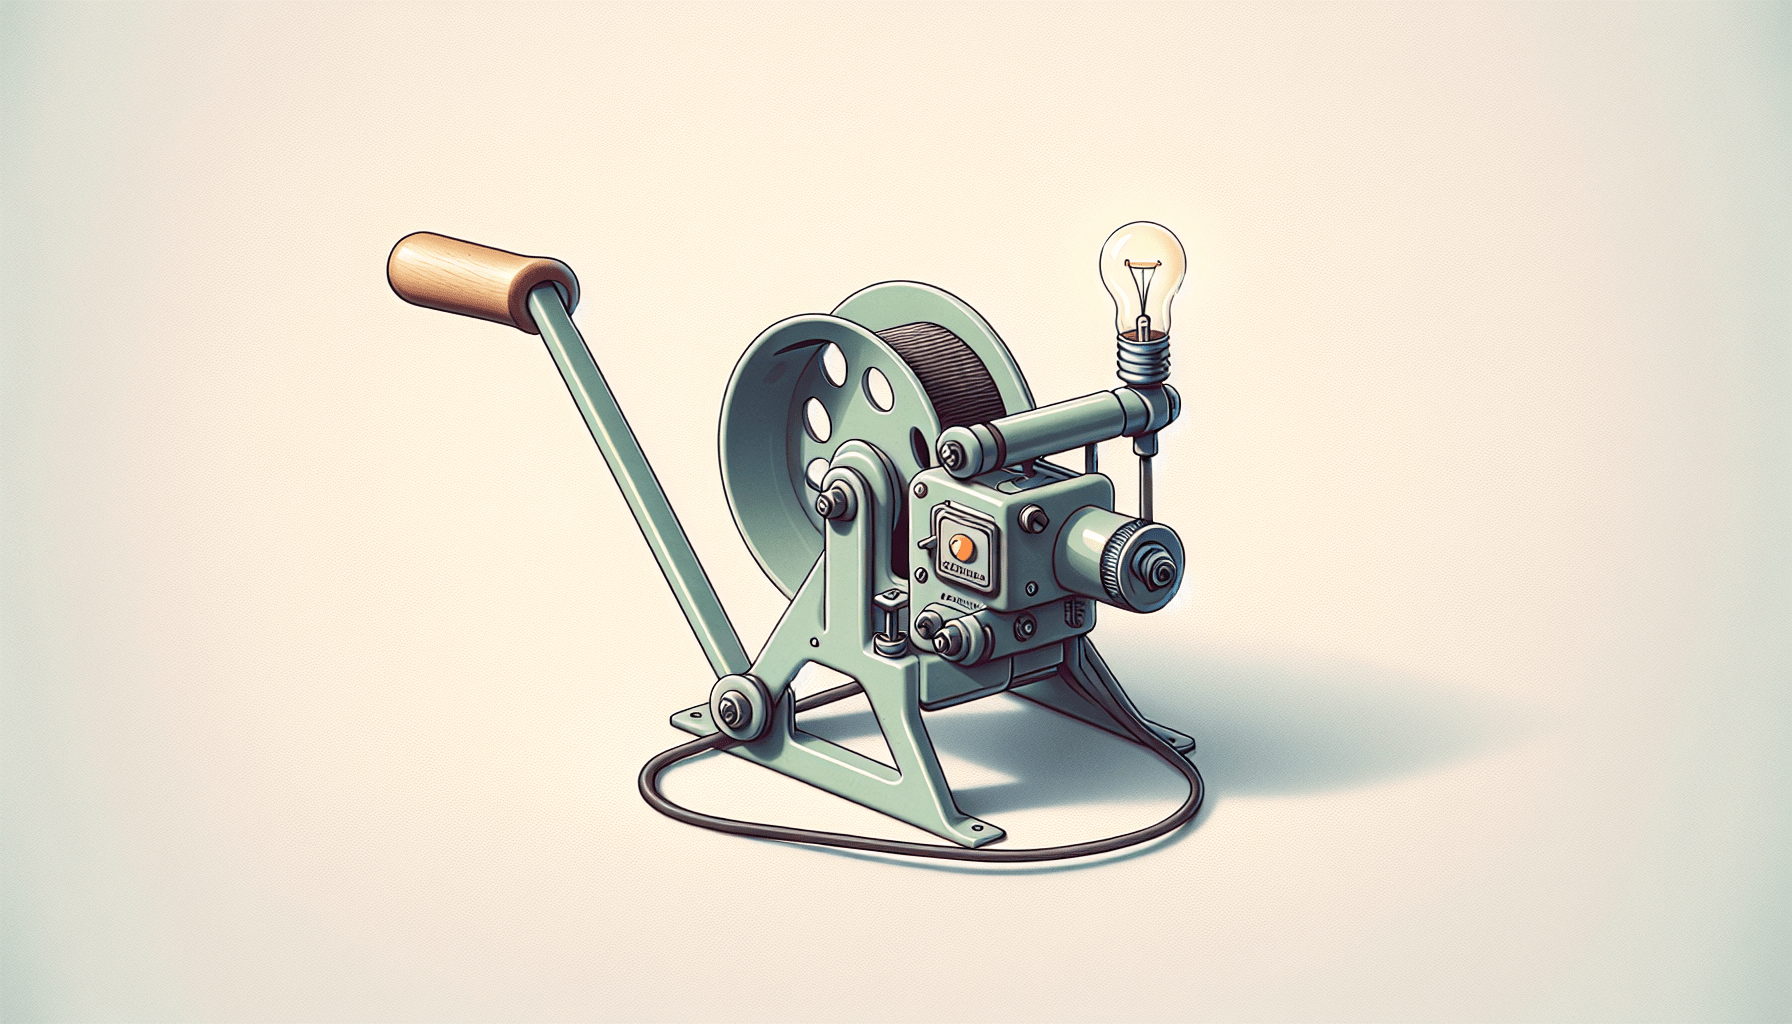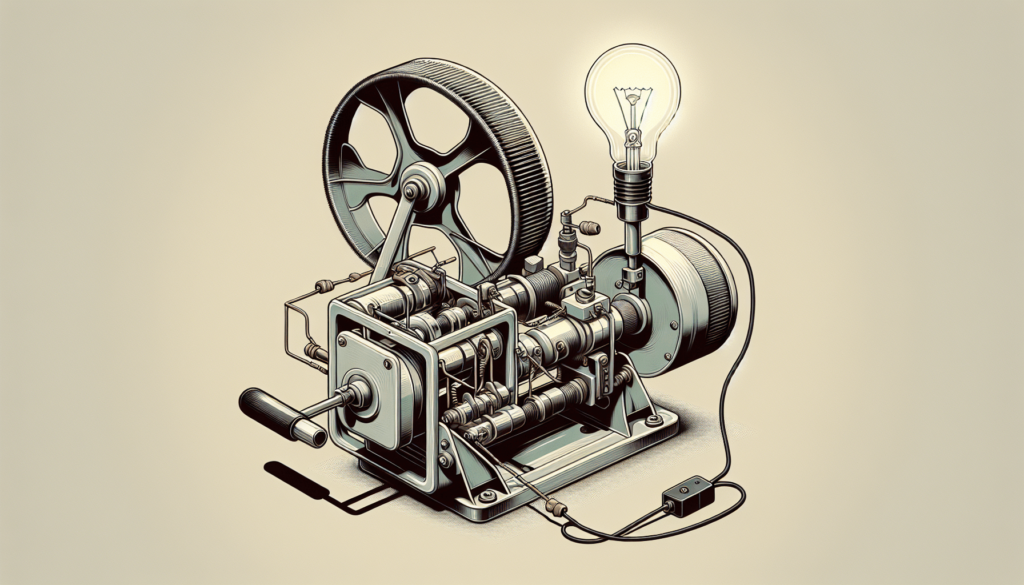
Have you ever wondered what it would take to build your own generator at home? Creating a simple DIY generator is not only possible but can also be a fun and educational project. Whether you’re preparing for an emergency situation, trying out a science project, or just curious about how generators work, you’re in the right place. Let’s walk through everything you need to know to create the simplest DIY generator.

Understanding the Basics of a Generator
Before you begin, it’s helpful to understand what a generator does and how it operates. At its core, a generator converts mechanical energy into electrical energy. This transformation typically occurs through the principles of electromagnetic induction.
What is Electromagnetic Induction?
Electromagnetic induction is a process where a conductor placed in a changing magnetic field causes the production of an electric current. This was discovered by Michael Faraday in 1831 and forms the basis of most electrical generators today.
Key Components of a Simple DIY Generator
- Copper Wire: Essential for conducting electricity.
- Magnet: Provides the magnetic field required for electromagnetic induction.
- Rotational Mechanism: This can be something as simple as a hand crank, which will move the magnet or wire to generate electricity.
- Support Structure: Keeps everything in place.
- Load: An electrical component like a small light bulb that consumes the generated electricity.
Gathering Your Materials
To make your DIY generator, start by collecting the following materials:
| Material | Purpose |
|---|---|
| Insulated Copper Wire | To wind into coils for current induction |
| Strong Magnets | To create a magnetic field |
| Cardboard or Plastic Tubes | To wind the copper wire around |
| Hand Crank or Motor | To provide rotational movement |
| Electrical Tape | To secure components |
| Small Light Bulb or LED | To test if your generator works |
| Glue Gun or Adhesive | To join parts securely |
| Multimeter (optional) | To measure the generated voltage |
Step-by-Step Guide to Building a Simple DIY Generator
Step 1: Creating the Coil
The coil will be the heart of your generator. Follow these steps:
- Wrap the Copper Wire: Take your insulated copper wire and wrap it around the cardboard or plastic tube. Aim for about 200-300 turns, keeping the coil as tight as possible.
- Leave Ends Free: Ensure that you leave about 5-6 inches of wire free at both ends. These will be used to connect to your load.
Step 2: Setting Up the Magnet and Coil
- Position the Magnet: Place your strong magnet near the coil, ensuring it can move past the coil. You can mount the magnet on a hand crank or any rotating device.
- Support Structure: Use your support structure to keep the coil and magnet in position but capable of moving relative to each other.
Step 3: Connecting to a Load
- Attach the Load: Connect the free ends of the copper wire to your small light bulb or LED. Make sure the connections are secure.
- Test Your Setup: Rotate the crank to move the magnet past the coil. As you do this, the magnetic field around the coil changes, inducing a current.
Step 4: Measuring Output (Optional)
If you have a multimeter, you can use it to measure the voltage and current produced by your generator. This helps you understand the efficiency and effectiveness of your DIY generator.
Troubleshooting Tips
LED or Bulb Doesn’t Light Up?
- Check Connections: Ensure that all connections are secure and the wire ends are exposed properly.
- Increase Rotational Speed: Sometimes, a higher speed is required to generate sufficient current.
- Use a Stronger Magnet: A stronger magnet can produce a more powerful magnetic field, inducing more current.
Voltage Is Too Low?
- Increase Coil Turns: Adding more turns to your coil can increase the voltage output.
- Ensure Tight Coiling: The tighter the coil, the more effective it will be at producing electricity.

Safety Considerations
While creating a simple DIY generator is generally safe, there are a few precautions you should take to ensure everything goes smoothly.
Electrical Safety
- Insulate Wires: Make sure all wires are properly insulated to prevent short circuits or accidental shocks.
- Low Voltage: Stick to low voltage components to mitigate any risk of electrical hazards.
Mechanical Safety
- Secure Moving Parts: Ensure that any moving parts, like the hand crank, are securely fastened to avoid accidents.
- Protective Gear: It’s always good practice to wear protective gear, such as gloves and goggles, especially if you’ll be using tools like glue guns or knives.
Applications of a DIY Generator
Educational Purposes
Building a DIY generator can serve as an excellent educational tool. This hands-on project can help you or your children learn about physics principles like electromagnetic induction and electricity production.
Emergency Situations
In a power outage, a small DIY generator can provide enough electricity to power essential devices like a flashlight or a small fan.
Green Energy Experiments
You can also experiment with different methods of generating mechanical energy, such as wind or water power, to drive your generator. This can turn your DIY project into a mini green energy solution.
Enhancing Your DIY Generator
Adding a Rectifier
If you want to use the electricity generated by your DIY generator to charge batteries or power DC devices, you’ll need to add a rectifier. A rectifier converts the alternating current (AC) produced by your generator into direct current (DC).
Using Multiple Coils
Adding more coils can increase the efficiency and output of your generator. You can connect these coils in series or parallel, depending on the required voltage and current.
| Configuration | Description | Best For |
|---|---|---|
| Series | Voltage adds up, current remains the same | High voltage, low current |
| Parallel | Current adds up, voltage remains the same | High current, low voltage |
Incorporating a Flywheel
A flywheel can help to smooth out the rotation of your generator, making the electricity production more steady. This can be particularly useful if you’re using the generator for more sensitive electronics.
Real-Life Inspirations and Applications
Human-Powered Generators
You’ve likely seen hand-crank flashlights or radios. These devices use the same principles as your DIY generator. The hand crank turns the generator, producing electricity to power the device.
Bicycle Generators
Imagine attaching your DIY generator to a stationary bike. As you pedal, you generate electricity, which can charge a battery or power small devices. This adds a workout element to your electricity generation!
Wind-Up Toys
Some children’s toys use wind-up mechanisms to store energy that’s later released to move the toy. While it’s a more complex use of mechanical energy storage and release, the principles are similar to those in your DIY generator.
Frequently Asked Questions (FAQs)
Can I scale up my DIY generator to power larger devices?
Yes, but it requires more sophisticated components and better design. Larger coils, stronger magnets, and a more reliable rotational mechanism will be needed to generate sufficient electricity for larger devices.
How much power can a simple DIY generator produce?
A simple DIY generator like the one described here can produce enough power to light a small LED or charge low-power devices. Typically, you can expect anywhere between 1 to 5 volts, depending on your setup.
What other sources of mechanical energy can I use besides a hand crank?
You can use wind turbines, water wheels, or even treadmills as sources of mechanical energy. These can offer continuous or more robust sources of rotational movement compared to a hand crank.
Conclusion
Building the simplest DIY generator is a rewarding project that brings together basic scientific principles and practical application. By understanding electromagnetic induction and gathering some simple materials, you can create a working generator that produces real electricity. This project not only serves educational purposes but also paves the way for understanding more complex electrical systems and potential real-world applications. Whether you’re exploring for a science project, an emergency backup, or just out of curiosity, you’ll find this project to be both enlightening and enjoyable. So, go ahead, gather your materials, follow these instructions, and experience the thrill of creating your very own generator!
